
Yes! I made $300 in only one month selling clothes I had in my closet! And you can too! Whenever my closet starts to get too full, or I’m noticing pieces I don’t wear anymore, I always list them on Poshmark. Why not make a little cash off of your used clothes? I use simple methods that are extremely easy to follow. Keep reading to find out exactly how I do it!
Starting Off
First things first, you need the Poshmark app! Get on your phone right now and download the app. You will have to create a username and password for your account. Make sure to come up with a good name because it is extremely hard to change afterwards (not even sure you can tbh). When you sign up make sure to use this code –> bea_hannan24 so you can get $5 off your first purchase!!
Get Your Stock On
Now that you have an account, you need clothes to sell! This is the time where you go through your entire closet and decide whats in good enough shape to sell that you don’t want anymore. It’s okay if pieces have some flaws, just know that will come into play with pricing, but we will talk about that a little later 😉 You can sell clothes, shoes, bags, accessories, even makeup (unused of course lol) if you want!
Picture Time
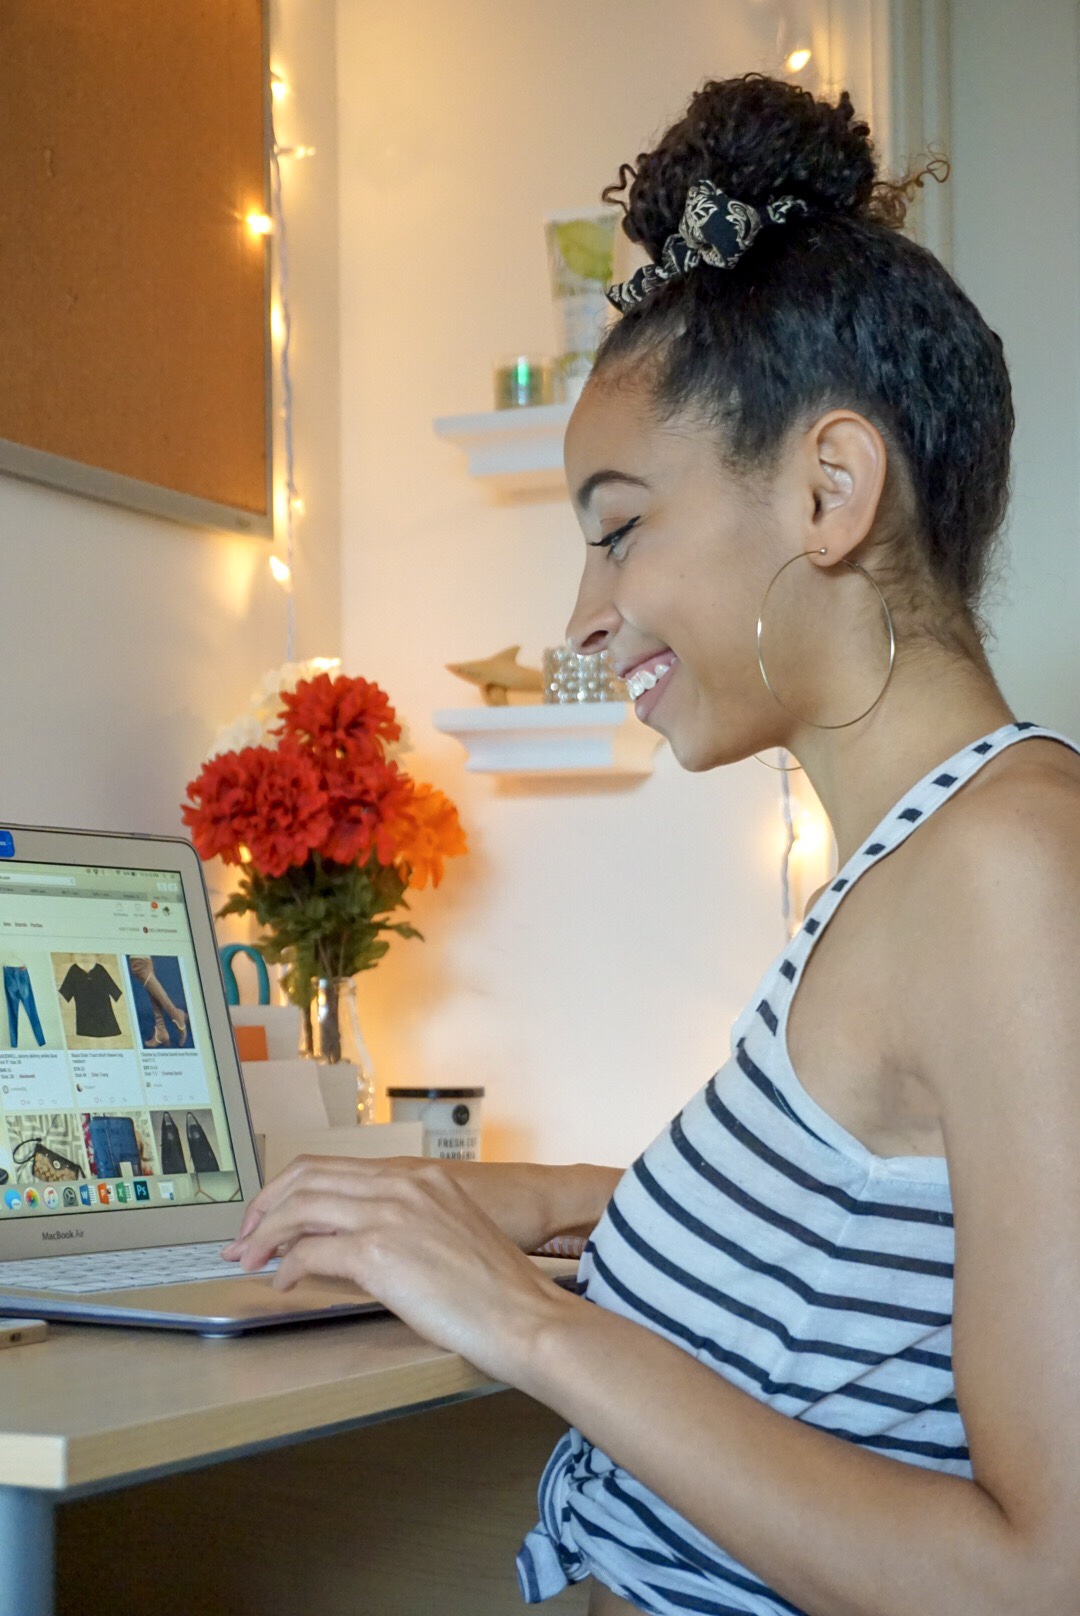
Now before you rush and get your camera out, you have to prep the clothes you want to sell. When you see a picture of an item you want to buy, you don’t want to know it’s coming from a messy, dark, who-knows-what’s-going-on there place do you?? Neither does anyone else! So get a steamer or iron out and make sure the item is wrinkle free. Then hang that bad boy up agains’t a plain white wall. I’ve also seen a lot of people do flat lay pictures as well, but buyers can be weird about seeing an item on the ground, so only go this route if you really know what you’re doing.
Now it’s picture time for real! You can use whatever camera you like, but its super easy to do it all on your phone! When you go to take the picture, make sure the fram is in Square mode because that is how it will be cropped in the Poshmark app. Make sure you have good lighting, natural light is great (watch out of crazy shadows) and studio lighting is good too if you somehow happen to have those lol.
These are the pictures I make sure to take for every item:
- Full Front
- Full Back
- Tag with Size
- Any Small Details that make the Item Unique
- Any Flaws it May Have No Matter How Tiny
Yes. You need to show the flaws. This is very critical to your overall success on the app. Whenever someone purchases one of your items, they rate you. If someone feels blindsided to an imperfection they didn’t know about, they WILL give you a low rating. Which in turn will make other potential buyers stay far far away from you. Which isn’t what we want at all! It is better for buyers to know and pay a little less than them not know and rate you super low. Kapeesh??
If you want to be a little extra with the pictures like myself, you can take your photos into an editing app (I use Lightroom) and sharpen the image, make sure to straighten the crop, brighten it up, take out the yellow tones, etc etc. If you guys want a tutorial on how I edit photos using Lightroom, let me know in the comments below!
List List List!
Now it’s time to put your items up for sale! So exciting!! When you’re in the app, at the bottom menu, in the middle, is a button called “Sell” with a cute little camera above it. Click that! When you do, the camera will open to take pictures, but trust me, don’t use that one. The quality is waaaaay low. But it also gives you the option to open photos from your camera roll. Go there and select the photos you’ve taken in the order you want them to appear to sell. The first photo you choose will be called your “Cover Photo” which is what the world of Poshmark will first see as the item being sold. I usually like to do a full picture of what the item is, or sometimes if I have a cool photo of me wearing it, I’ll use that instead so buyers can get a sense of how it will fit them.
Once you’ve selected your photos, you’ll get the option to put filters on them, don’t do that either lol. You made sure they were great pictures before we opened the app so don’t go overboard.
Now is the time to fill out all the info about your item! Below I’ll go into detail about each section you fill out and how I do it!
WHAT ARE YOU SELLING: this is what will be shown with your cover photo to buyers. I always put the brand of the item, the color it is, and specifically what I’m selling. For example, “Black Nike High-Waisted Leggings”.
DESCRIBE IT: this is where you’re able to give more details about the product. I copy and paste my “what are you selling” at the top of this section so buyers are able to see again exactly what they are buying. I then describe if it is NWT (new with tags), great condition, or good condition. I believe if it isn’t in good condition, I should probably donate it. Then, I say if it has any flaws like pilling, stains or anything I would want to know about an item before buying it. Next, I sometimes describe where I would wear it to, if it’s great for a certain season, or really on trend at the moment. Lastly, I give the measurements of the item so buyers are aware of it’s exact size. I do measurements like rise, inseam, sleeve length, etc.
CATEGORY: here is where you pick the items correct category of clothing so that when buyers search for “leggings” yours will come up in the results.
QUANTITY: some sellers actually have businesses on here so when it asks for this, this is where they would say “I selling 5 of the same item so 5 different people can buy it from me. You, on the other hand will probably only be selling one of everything you list. So go ahead and click “one”.
SIZE: choose the size of the item duh lol
BRAND: the name of the brand your item is from.
COLOR: the color of your item. If it has multiple you are allowed to choose up to 2 colors, so pick the most prominent or the ones that people are most likely to search for.
NWT: this means “new with tags”. If your item is brand new and still has the tags on it, make sure to let your buyers know! But if it’s not, I usually skip this step as it is optional.
Pricing Your Item
Pricing needed to be in it’s own section so you can refocus lol
ORIGINAL PRICE: this is where the buyers learn what you actually purchased the item for. Now, I know what you’re thinking, how in the world are you supposed to remember what you bought those 5 year old leggings for??? Yes, I understand haha but this is where you go online and search for your item to 1. see if it’s still being sold and at what price or 2. see what similar items to yours are being sold at for retail.
LISTING PRICE: this is what you’re listing your price as for the buyer to purchase. Now it’s time for a little more research! I know, I know, you just want to list it and get the monies, but it doesnt work like that lol. You want to list it to sell and make the most profit you can. This is where you look at what others are selling your same item for AND what it has sold for in the past. When you go and search for an item to buy (instead search for the item you’re selling) you can choose these criteria, even to see what has already been sold. Then, after careful consideration of what others have sold it for, and the condition your item is in, pick your price! I usually tend to price on the higher side so that I can give people discounts to make them feel good on the inside 🙂 and make myself feel good for still getting what I wanted to make off of it too!
Now you list!!! Congrats on listing your first item on Poshmark! Cheers to many more listings! 🙂
Getting Sales
Oh, you thought buyers were just gonna come to you out of thin air? Not today lol you have to do a little work to see some rewards. Poshmark is a community app meaning you have to show love to get love back. Share other people’s listings as much as your own. Follow a ton of people. But more specifically, follow people who have similar interests as the brands you’re selling in your closet.
A secret trick I also do is search for an item that I’m currently selling in my closet and check to see the most recently sold of that item by others. I then see who liked that item and follow all of the likers. These are people who you KNOW will be interested in something you’re selling!
Also, when people like one of your items, be sure to use the Offers to Likers feature to push more sales.
And share to parties when your items meet the criteria! This will help you find more people interested in your category of items!
You Made a Sale!
Woohoo!! Money in the bank!… almost 😉 Now you have to ship that puppy! Be sure to always ship your item as fast as you can (without driving yourself crazy). This will make your customer happier and they will give you a better rating.
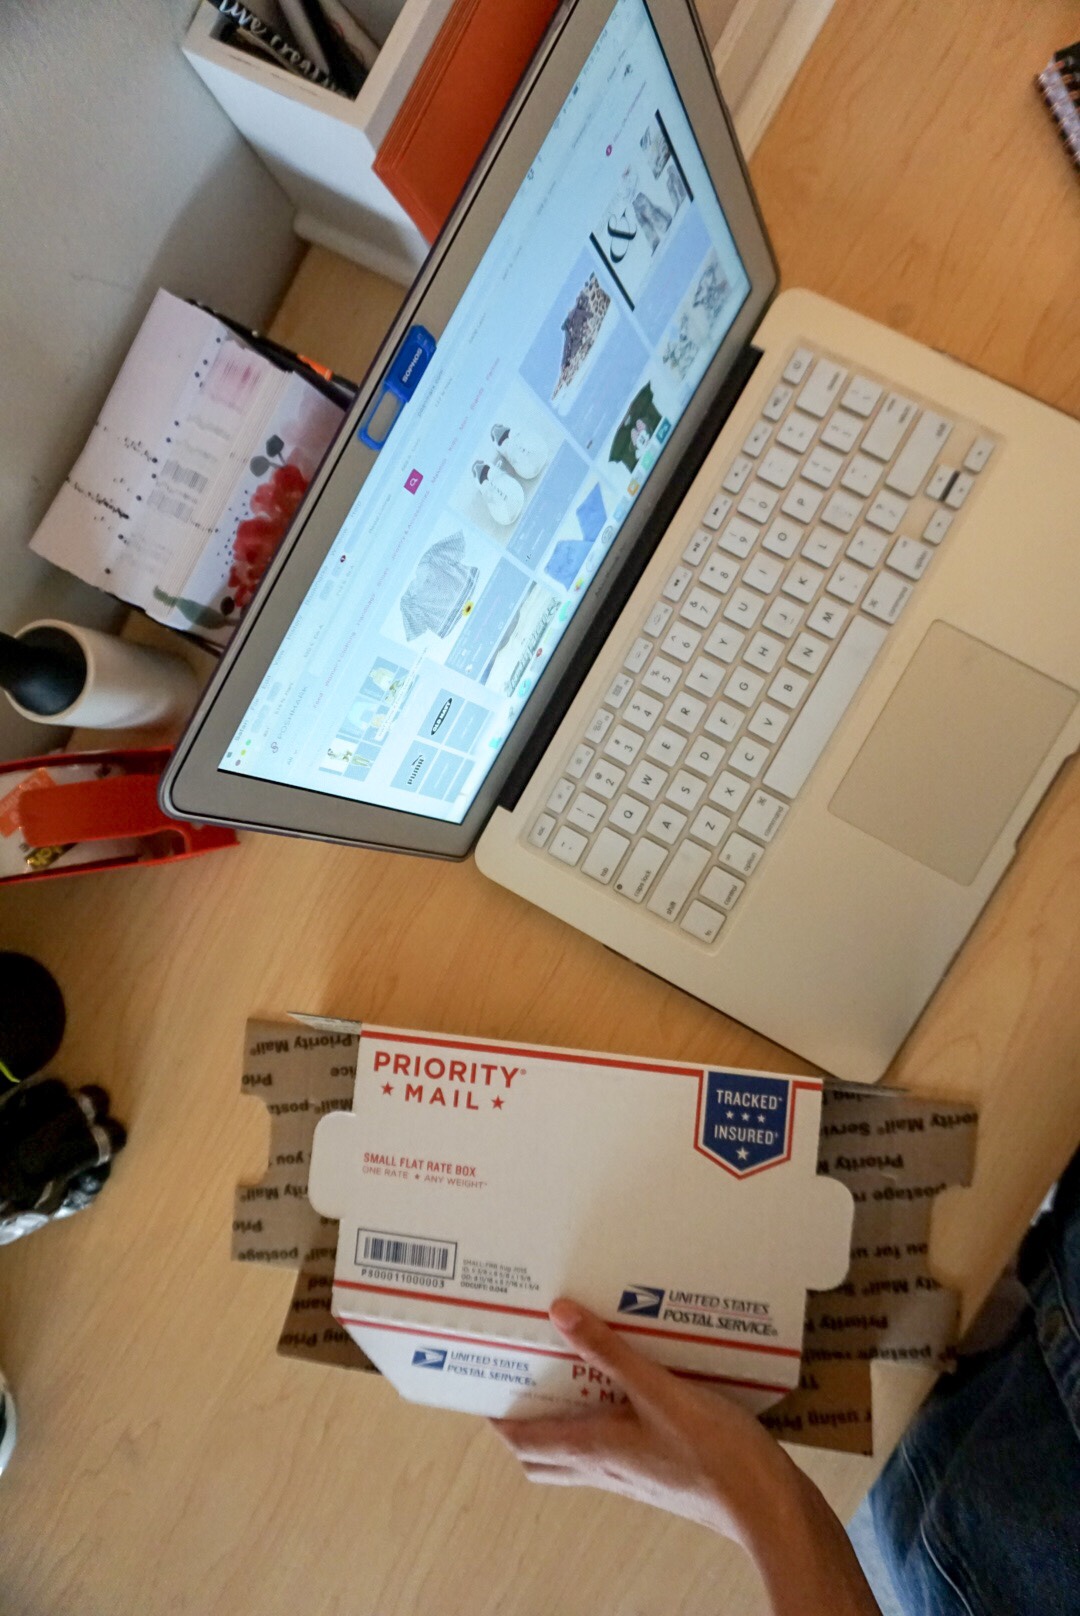
You don’t need to buy any fancy packaging to ship your items because you can get 2 Day Priority USPS boxes for da FREE at any USPS or have them delivered to you as well. These are also the boxes you have to use on Poshmark anyway.
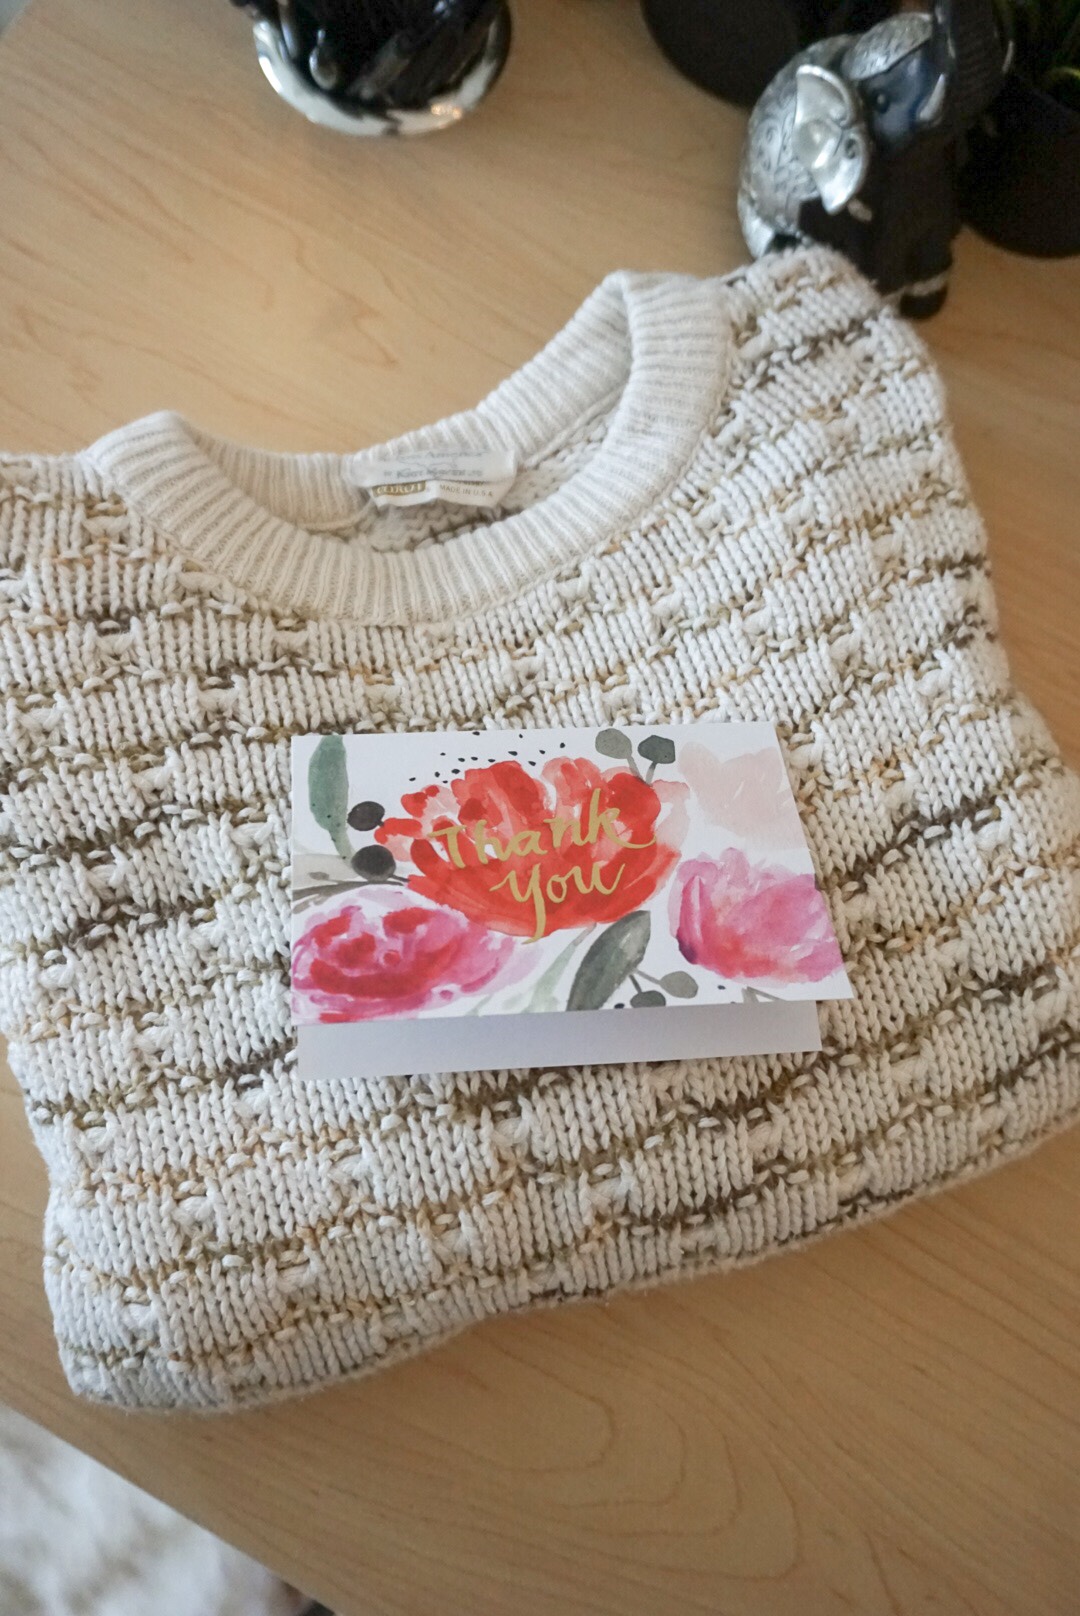
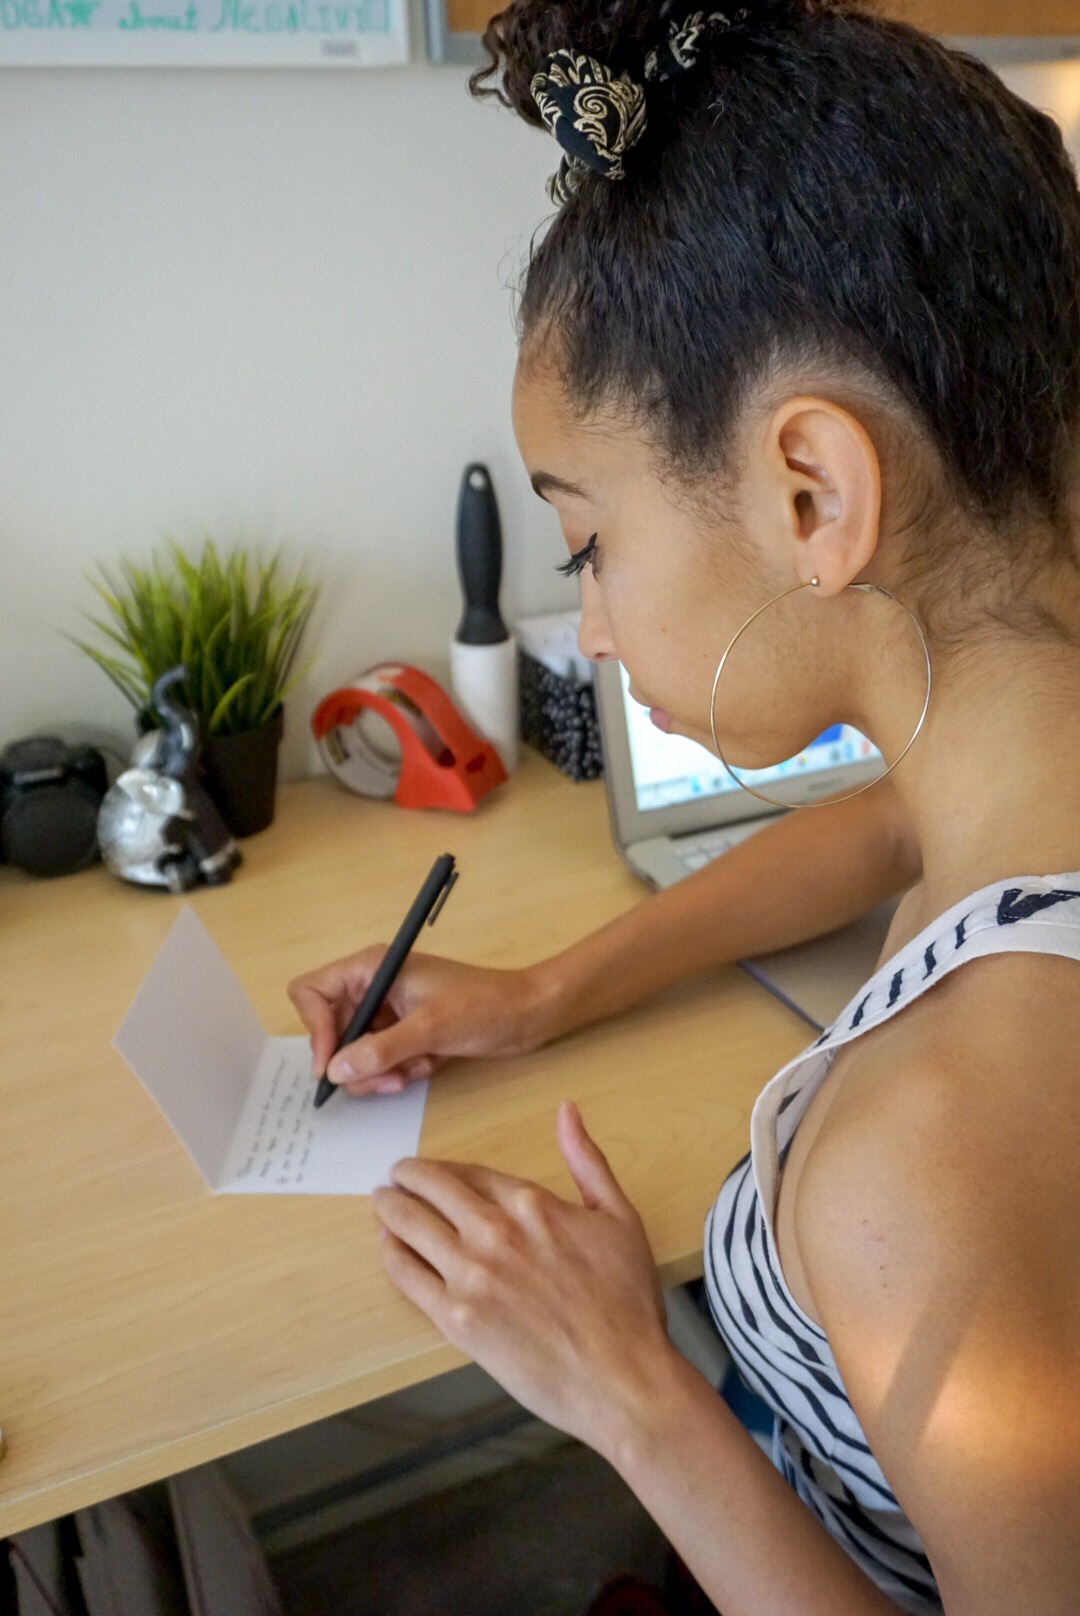
Print out your pre-paid shipping label that was emailed to you and tape it on your box. I like to add a special touch by writing a hand written note to my buyer and telling them how much I appreciate their purchase! It adds a nice touch that will hopefully bring them back for purchases in the future.
I hope that you learned a lot from this post and are able to start making some easy money selling your old clothes on Poshmark! Be sure to use this code bea_hannan24 when you sign up to get $5 off your first purchase on the app too!! Leave me a comment below of your Poshmark username so I can follow your closet too!!


I enjoyed your post so much so that I open an account on Poshmark! I hope you continue to post more on how you are doing with it. Again, thank you for the great post.
Author
Thank you! I’m so glad you enjoyed it!🤗♥️